ご覧いただきありがとうございます!
領護(りょうご)です。
初心者向けにSourcetreeを使ってプログラムのソースコードをGitHubにアップロード(プッシュ)する方法を解説します。
GitHubとは

GitHubとは、簡単に言うとプログラムのソースコードをインターネット上で管理・閲覧・共有できるサービスです。
プログラムのソースコードをインターネット上で管理・閲覧・共有することで、チーム開発やソースコードの変更履歴の確認を簡単に行うことができます。
プログラミングをやっている人のほとんどが使っているサービスですね。
アカウント作成
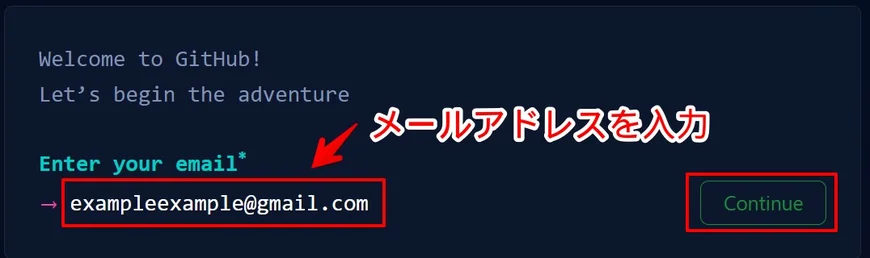
GitHubアカウント作成ページにアクセスして、「Enter your email」に好きなメールアドレスを入力して「Continue」をクリック
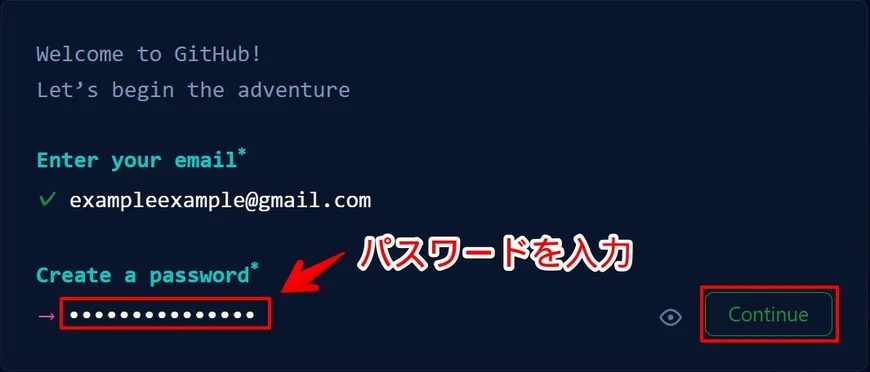
「Create a password」に好きなパスワードを入力して「Continue」をクリック
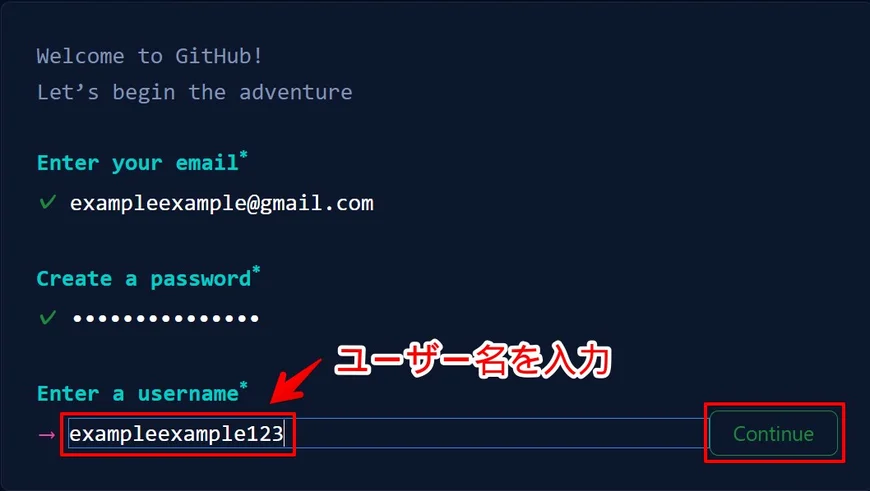
「Enter a username」に好きなユーザー名を入力して「Continue」をクリック
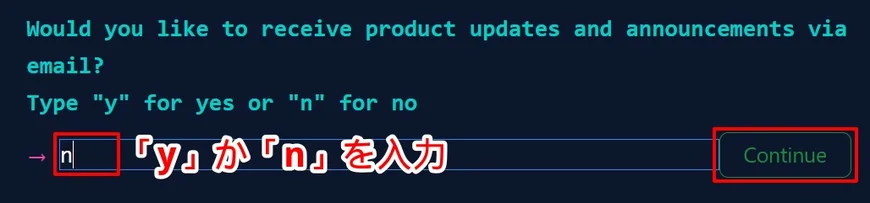
「GitHubの更新情報をメールで受け取りますか?」と聞かれるので、受け取りたい方は、「y」受け取らない方は、「n」と入力して「Continue」をクリック
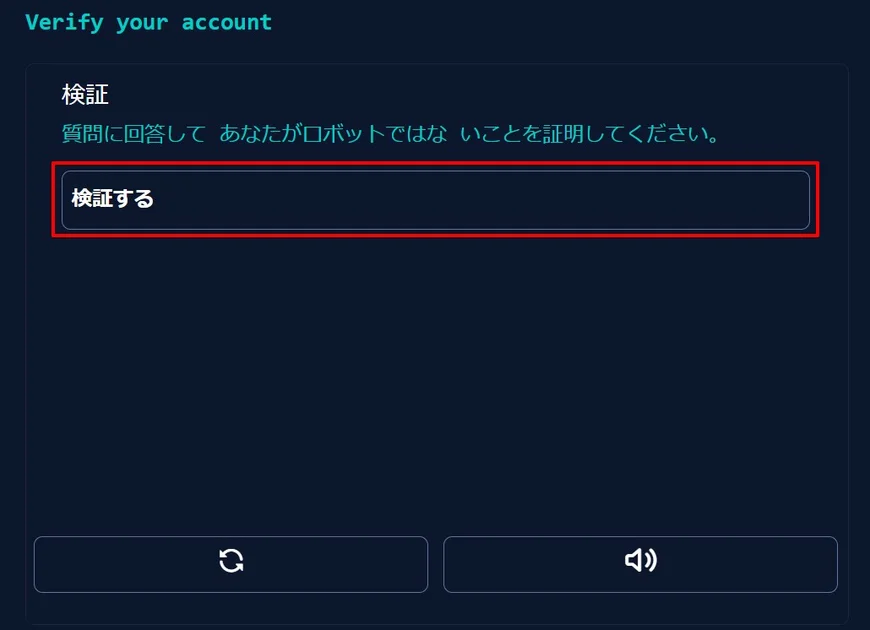
「検証する」をクリック

出題された内容に合う画像をクリック
※ 5回ほど繰り返します。

検証終了後は、「Create account」をクリック
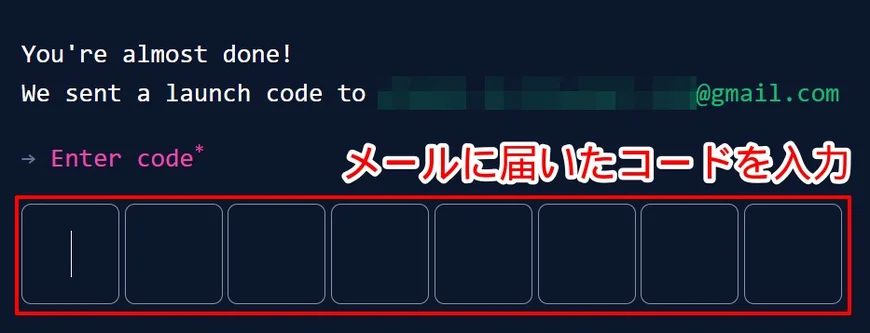
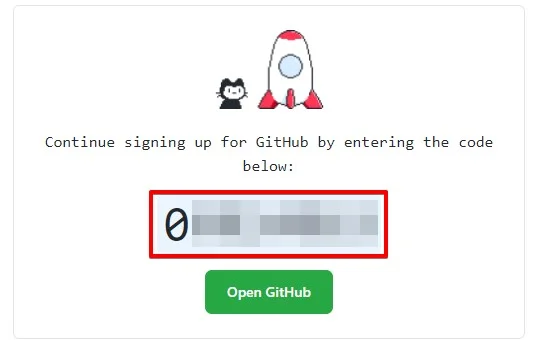
メールアドレスに届いたGitHubの認証コードを入力
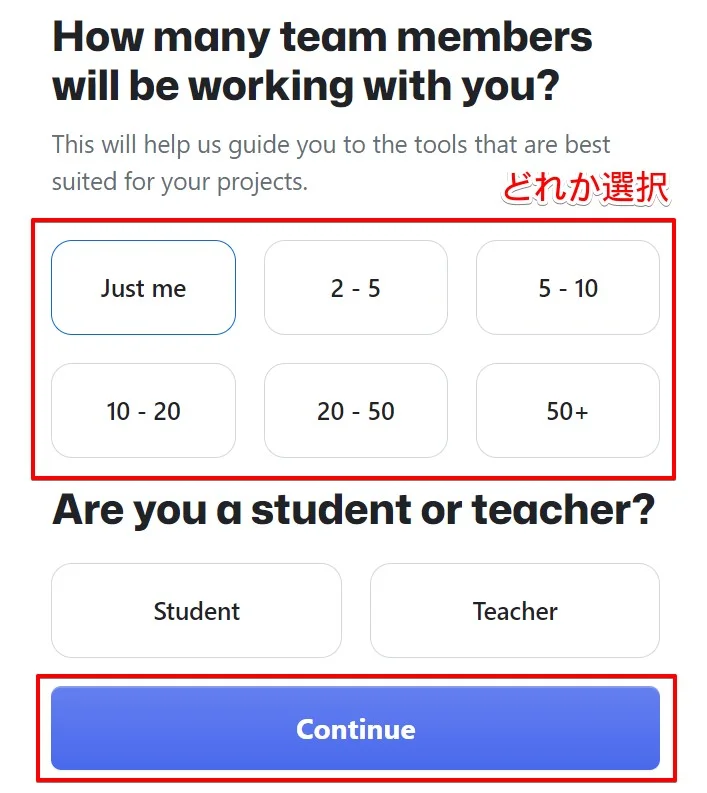
「あなたと一緒に働いているチームメンバーはどれくらいですか?」と聞かれるので、チームの規模数を選択して「Continue」をクリック
※ どれでも構いません。
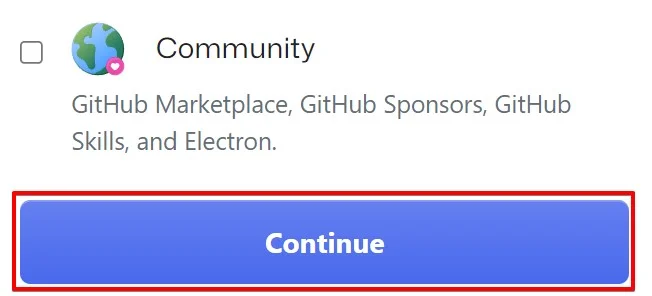
チェックは付けずに「Continue」をクリック

「Continue for free」をクリック
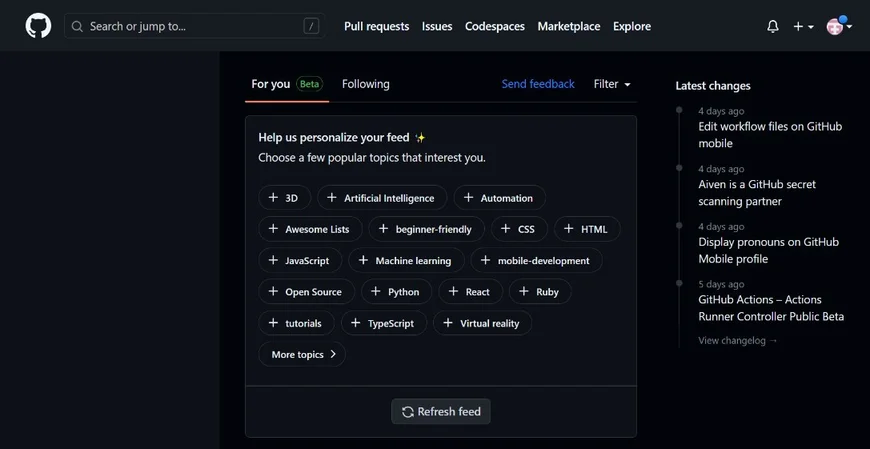
これでGitHubのアカウントの作成が完了しました。
続いて、GitHubトークンを作成します。
GitHubトークンの作成
GitHubトークンは、パスワードの代わりとして使用します。

右上の「メニューアイコン」をクリック
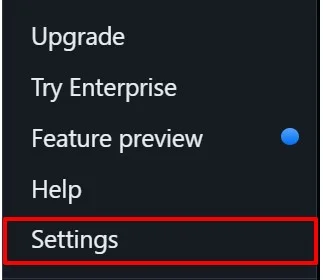
下から2番目当たりにある「Settings」をクリック
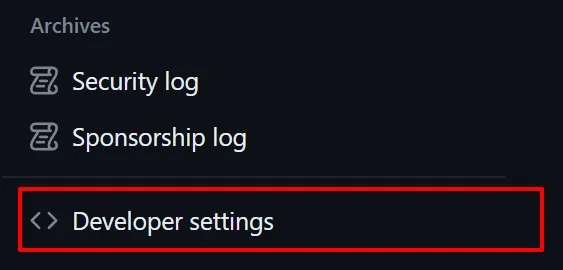
左メニューの1番下にある「Developer settings」をクリック

左メニューから「Personal access tokens」の中の「Tokens (classic)」をクリック
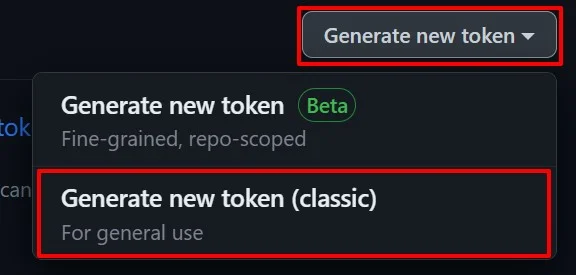
「Generate new token」メニューから「Generate new token (classic)」をクリック
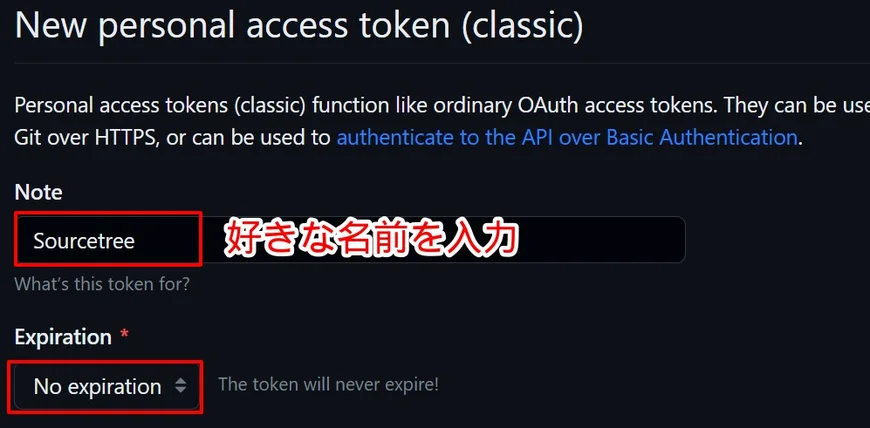
Noteには、トークンの使用目的を分かりやすい名前で入力します。
Expirationには、「No expiration」を選択します。
※ トークンの有効期限を無期限にしています。
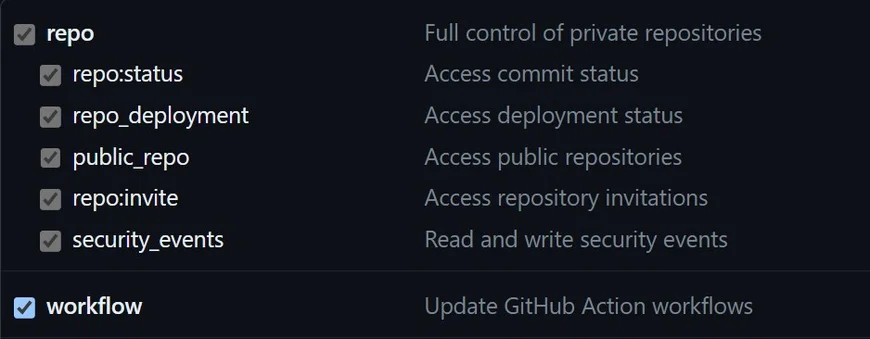
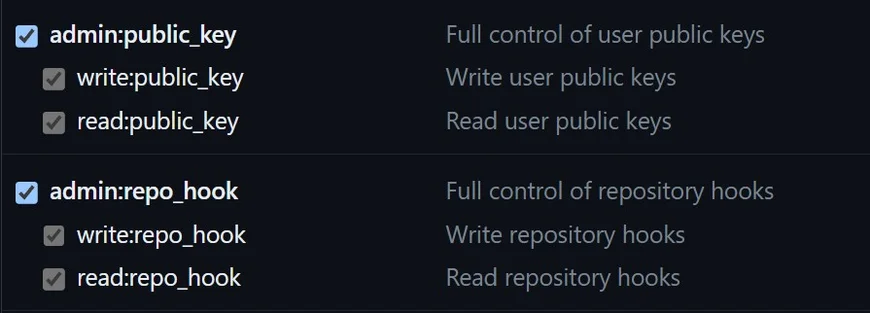
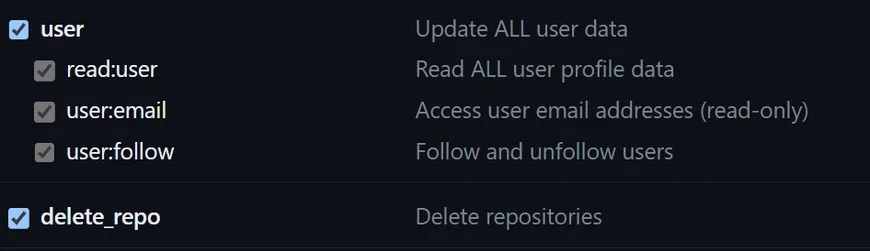
Select scopesには、トークンの使用範囲の設定を行います。
「repo」「workflow」「admin:public_key」「admin:repo_hook」「user」「delete_repo」にチェックを入れておきます。

設定完了後は、「Generate token」をクリック
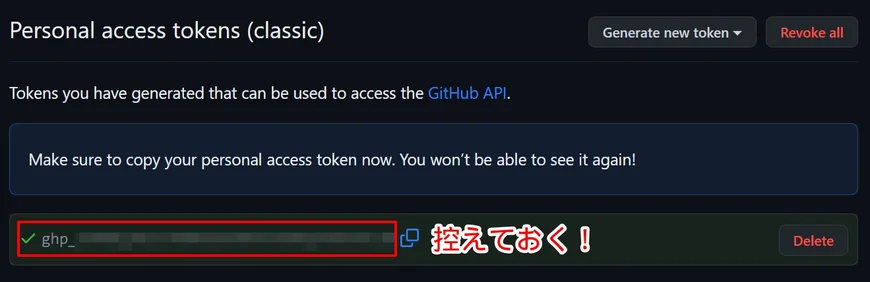
GitHubトークンの作成が完了しました。
赤枠の「ghp_」から始まる部分がトークンコードなので、控えておいてください。
続いて、GitHubにアップロードするためのツールをインストールします。
Sourcetreeをインストール
Sourcetreeとは、Gitを簡単かつ視覚的に扱えるツールです。
Sourcetreeを使わずにGitHubにソースコードをアップロードすることもできますが、コンソールからコマンドを入力するので、コマンドの知識が必要になります。
Sourcetreeを使うことで、コンソールからコマンドを入力しなくても、Gitを操作することができるので、初心者におすすめのツールです。
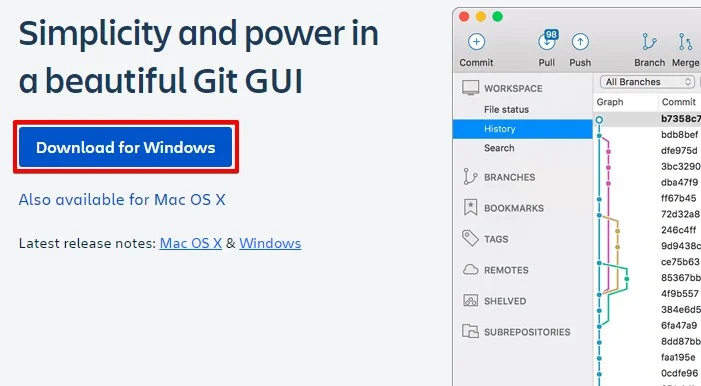
Sourcetreeのダウンロードページにアクセスして、「Download for Windows」または「Download for Mac OS X」をクリック
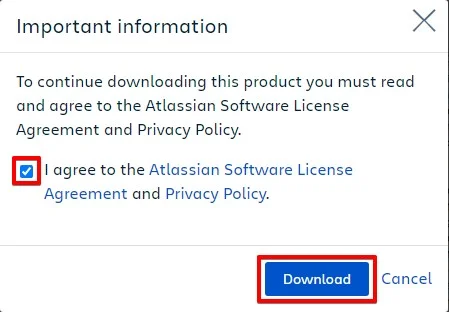
利用規約の同意にチェックを入れて「Download」をクリック
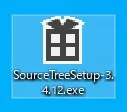
「SourceTreeSetup-3.4.12.exe」のダウンロード完了後、ダブルクリックしてインストーラーを起動
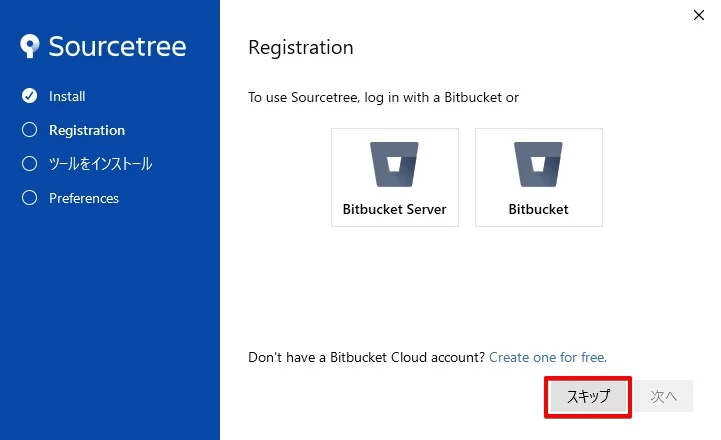
今回はGitHubを利用するので、Bitbucketのアカウントは作成せずに「スキップ」をクリック
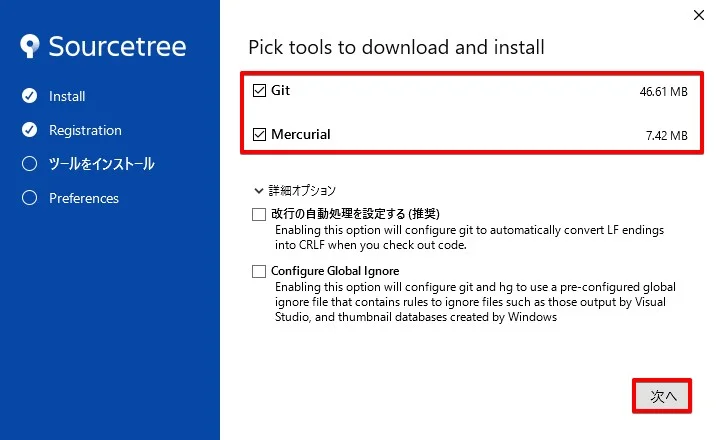
「Git」と「Mercurial」にチェックを入れて、「次へ」をクリック
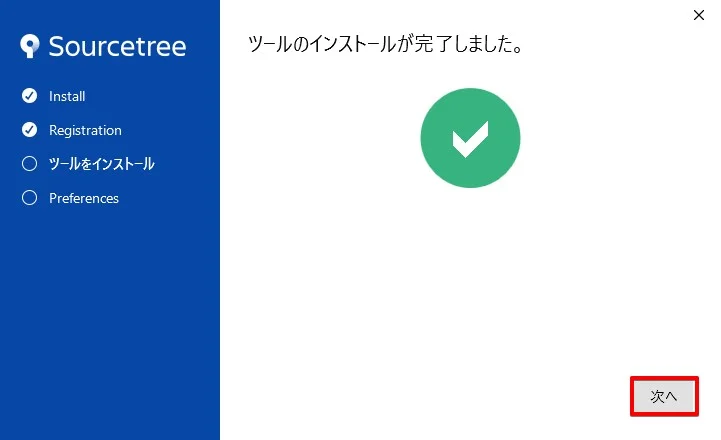
「次へ」をクリック
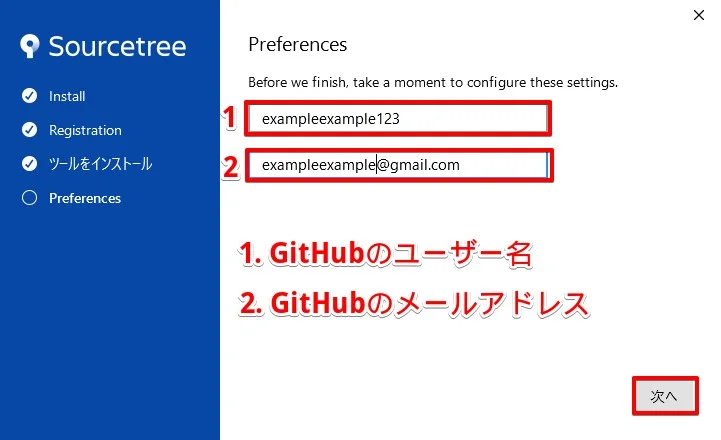
1番には、GitHubで登録したユーザー名を入力します。
2番には、GitHubで登録したメールアドレスを入力します。
上記の内容で入力ができたら「次へ」をクリック
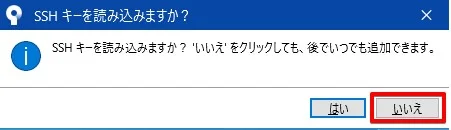
「SSHキーを読み込みますか?」と表示されるので、「いいえ」をクリック
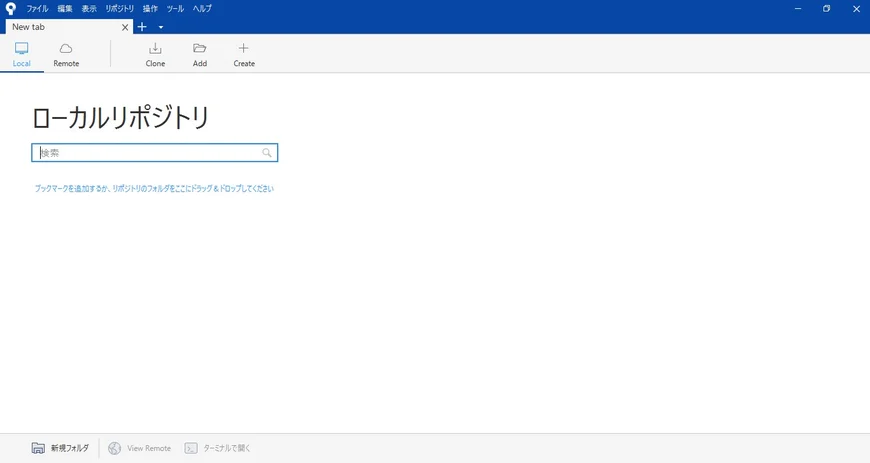
ローカルリポジトリ画面が表示されたらインストール完了です。
SourcetreeでGitHubにアップロード(プッシュ)する
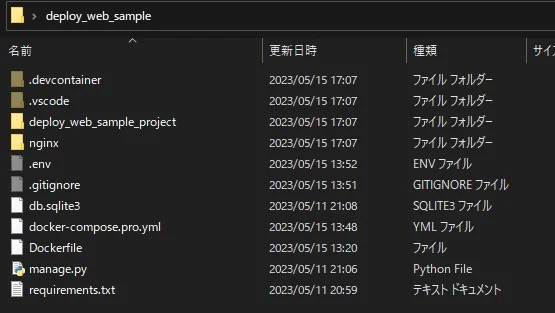
今回、GitHubにアップロードする「deploy_web_sample」のフォルダ構成です。
※ GitHubにファイルをアップロードすることをよく「プッシュする」と表現します。
GitHubにプッシュしないファイルを指定
*.log
*.env
*.pyc
*.swp
.DS_Store
.devcontainer
.vscode
__pycache__
db.sqlite3
media
tmp
「.gitignore」ファイルは、GitHubにプッシュしたくないファイルを指定できます。
もし、GitHubにプッシュしたくないファイルがあれば、「.gitignore」ファイルを作成して指定しておきます。
※ 機密情報ファイル、ログファイル、重いファイルなどを指定しておくと良いですね。
GitHubにリモートリポジトリを作成
リモートリポジトリとは、インターネット上にファイルやディレクトリの状態を記録する場所のことです。
今回、プッシュする「deploy_web_sample」のリモートリポジトリを作成しておきます。
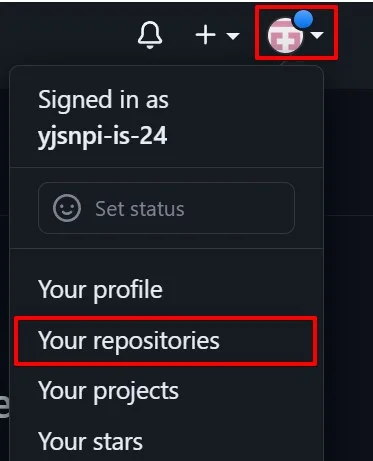
GitHubページ右上の「メニューアイコン」の中の「Your repositories」をクリック

「New」をクリック
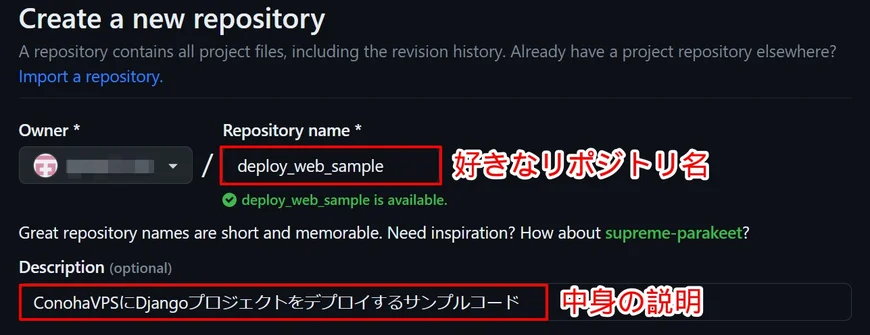
Repository nameには、好きなリポジトリ名を入力します。
GitHubにプッシュするワークフォルダ名がおすすめです。
Descriptionには、データの中身の説明を入力します。

リポジトリの公開範囲を設定します。
Publicは、インターネットに繋がっている全世界の人が見れます。
Privateは、自分もしくは許可した特定の人が見れます。
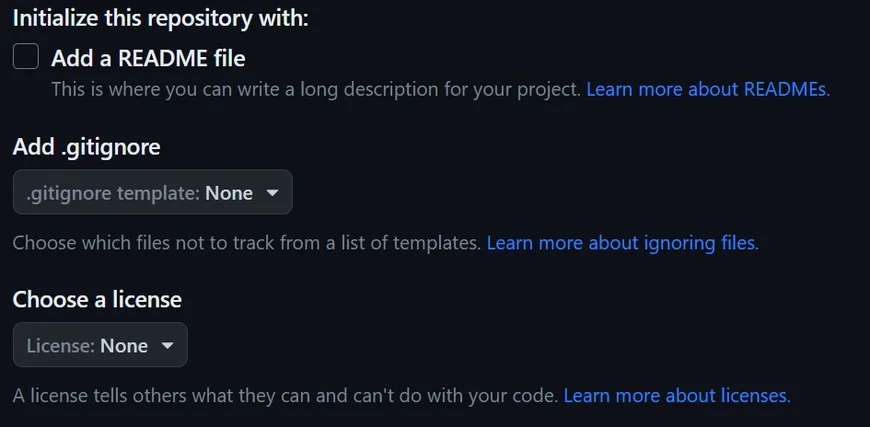
.gitignoreファイルやライセンスファイルの作成設定です。
特に必要なければ何も設定せずに次に進みます。

設定完了後は、「Create repository」をクリック
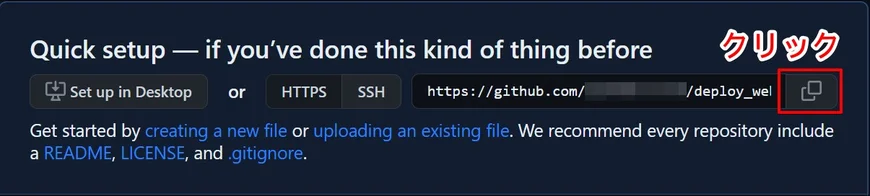
これで「deploy_web_sample」のリモートリポジトリの作成が完了しました。
リモートリポジトリのURLは後ほど使うので、コピーボタンをクリックして控えておいてください。
GitHubにプッシュする
Sourcetreeを使って、GitHubにプッシュします。
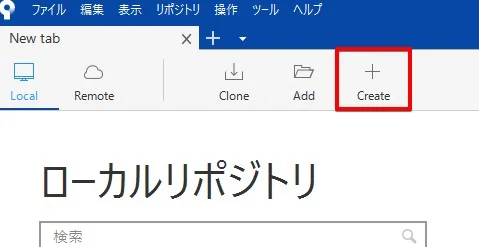
Sourcetreeを起動して、メニューの「Create」をクリック

「参照」をクリックしてGitHubにプッシュするフォルダを選択
Sourcetreeに表示するタブ名を入力(デフォルトのままでOK)
「Git」を選択
上記の内容で選択と入力ができたら「作成」をクリック
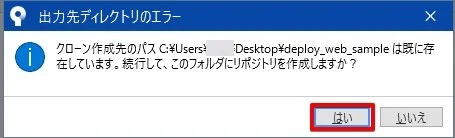
もし「出力先ディレクトリのエラー」が表示された場合、「はい」をクリック
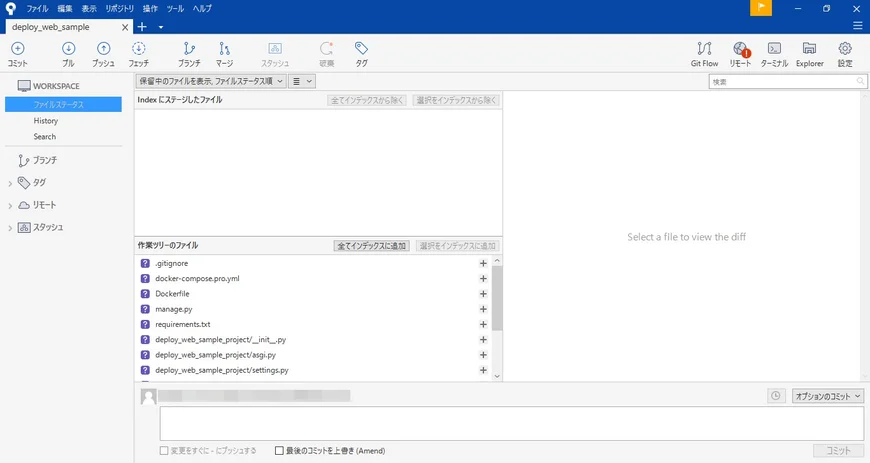
これでローカルリポジトリの作成は完了しました。
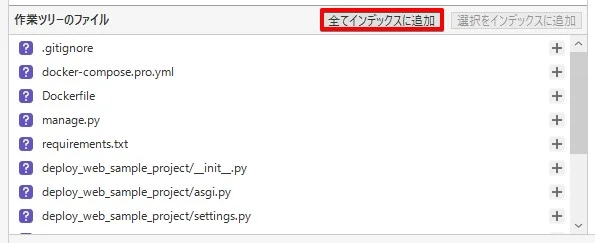
「作業ツリーのファイル」の「全てインデックスに追加」をクリック
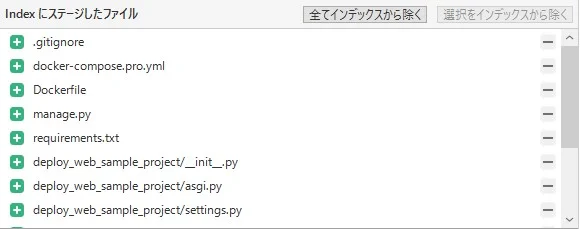
「作業ツリーのファイル」内にあったファイルが「indexにステージしたファイル」内に移動します。

コミットコメントには、どのような作業を行ったのかを具体的に書いておきます。
コミットは、ファイルやフォルダに変更があった時にどのような作業を行ったのかを履歴として保存する時に使います。
入力完了後は、「コミット」をクリック
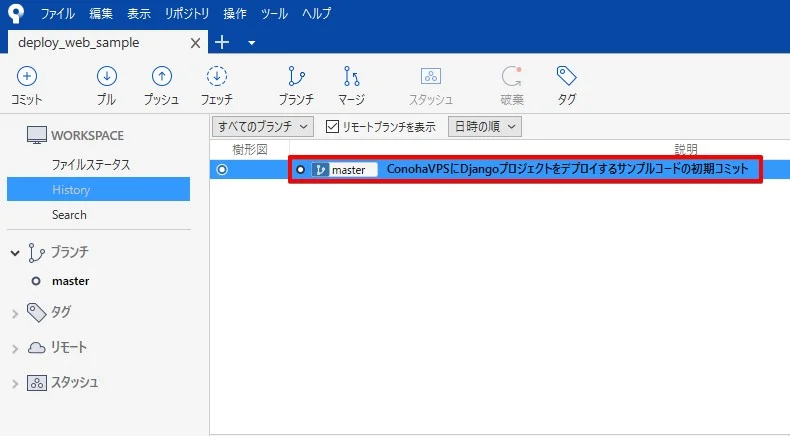
ファイルやフォルダの変更履歴を保存できました。
次は、GitHubのリモートリポジトリにプッシュしていきます。
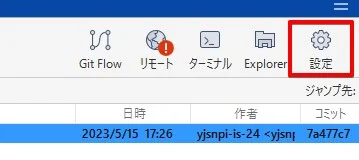
右上当たりにある「設定」をクリック
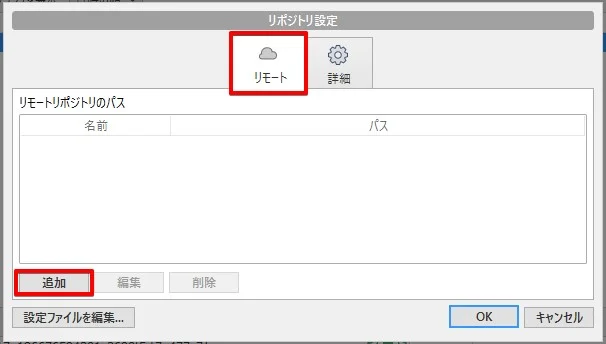
「リモート」タブを選択した状態で「追加」をクリック
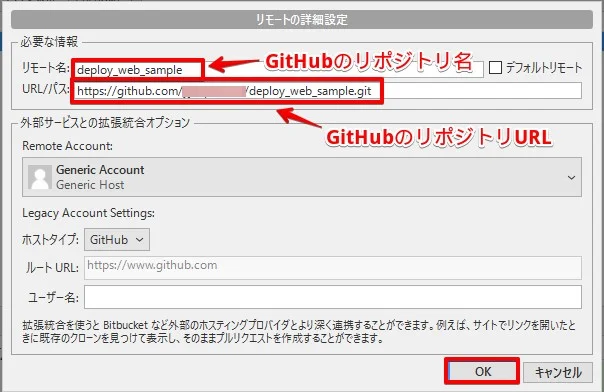
リモート名には、GitHubのリモートリポジトリ名を入力します。
URL/パスには、GitHubのリモートリポジトリURLを入力します。
入力完了後は、「OK」をクリック
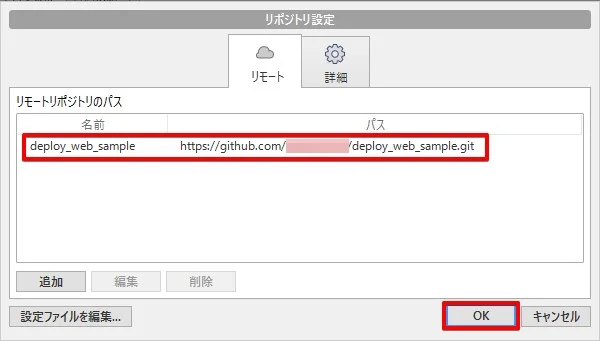
リモートリポジトリのパスに先ほど入力した内容が追加されていればOKです。
問題なければ「OK」をクリック

「プッシュ」をクリック
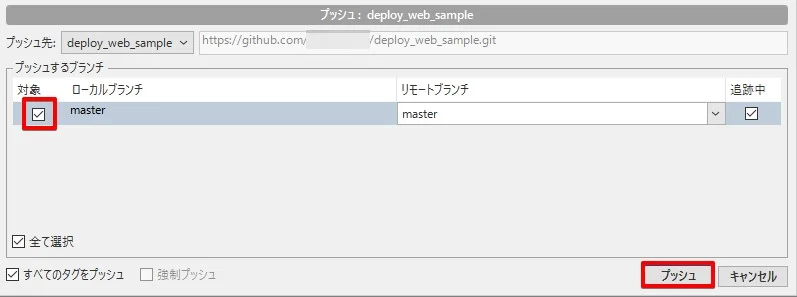
「master」の対象にチェックを入れて「プッシュ」をクリック
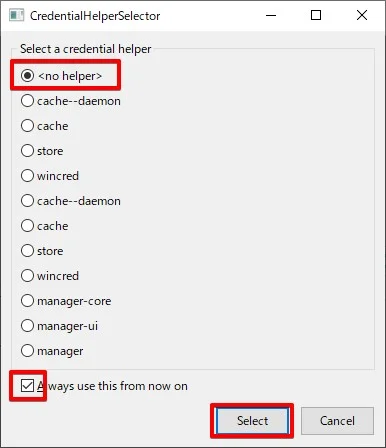
もし、このような画面が表示された場合は、「no helper」を選択します。
「Always use this form now on」にチェックを入れて、「Select」をクリック

Usernameには、GitHubのユーザー名を入力します。
Passwordには、GitHubトークンを入力します。
「Remember password」にチェックを入れて、「Login」をクリック
注意!
GitHubのパスワードではなく、GitHubトークンを入力するので間違えないようにしてください。
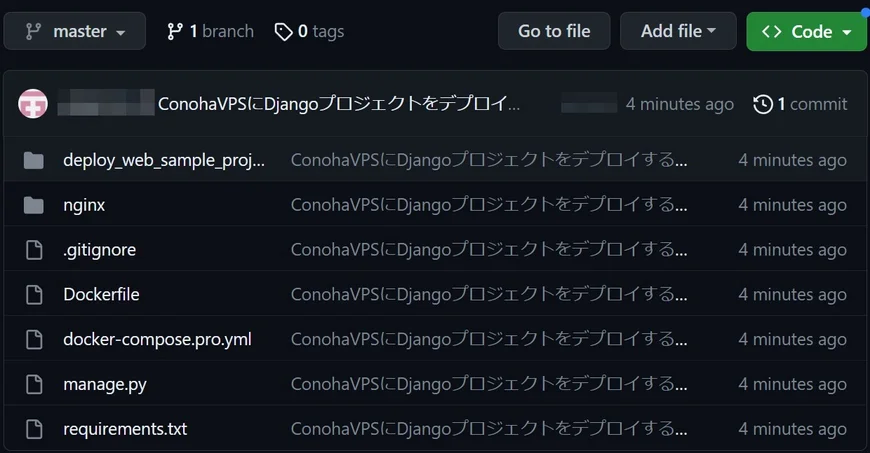
これでGitHubにプッシュが完了できました。
お疲れ様でした!
最後に
初心者向けにSourcetreeを使ってプログラムのソースコードをGitHubにアップロード(プッシュ)する方法を解説しました。
GitHubは、プログラミングをやっていたら必ずと言っていいほど使うツールです。
この機会に使い方を覚えて、GitHubをガンガン使いこないちゃいましょう!